Get a taste of our delicious June 2026 edition
We’re thrilled to bring you a wildly ambitious Coffeevine edition in June 2026 filled with exciting coffees from 7 different roasters
As many of you will probably already know, I use a variety of coffee brewers for my monthly brew guides and in every day coffee life.
There’s nothing more rewarding than experimenting with different brew methods, different coffees and different recipes to produce a gorgeous cup of coffee.
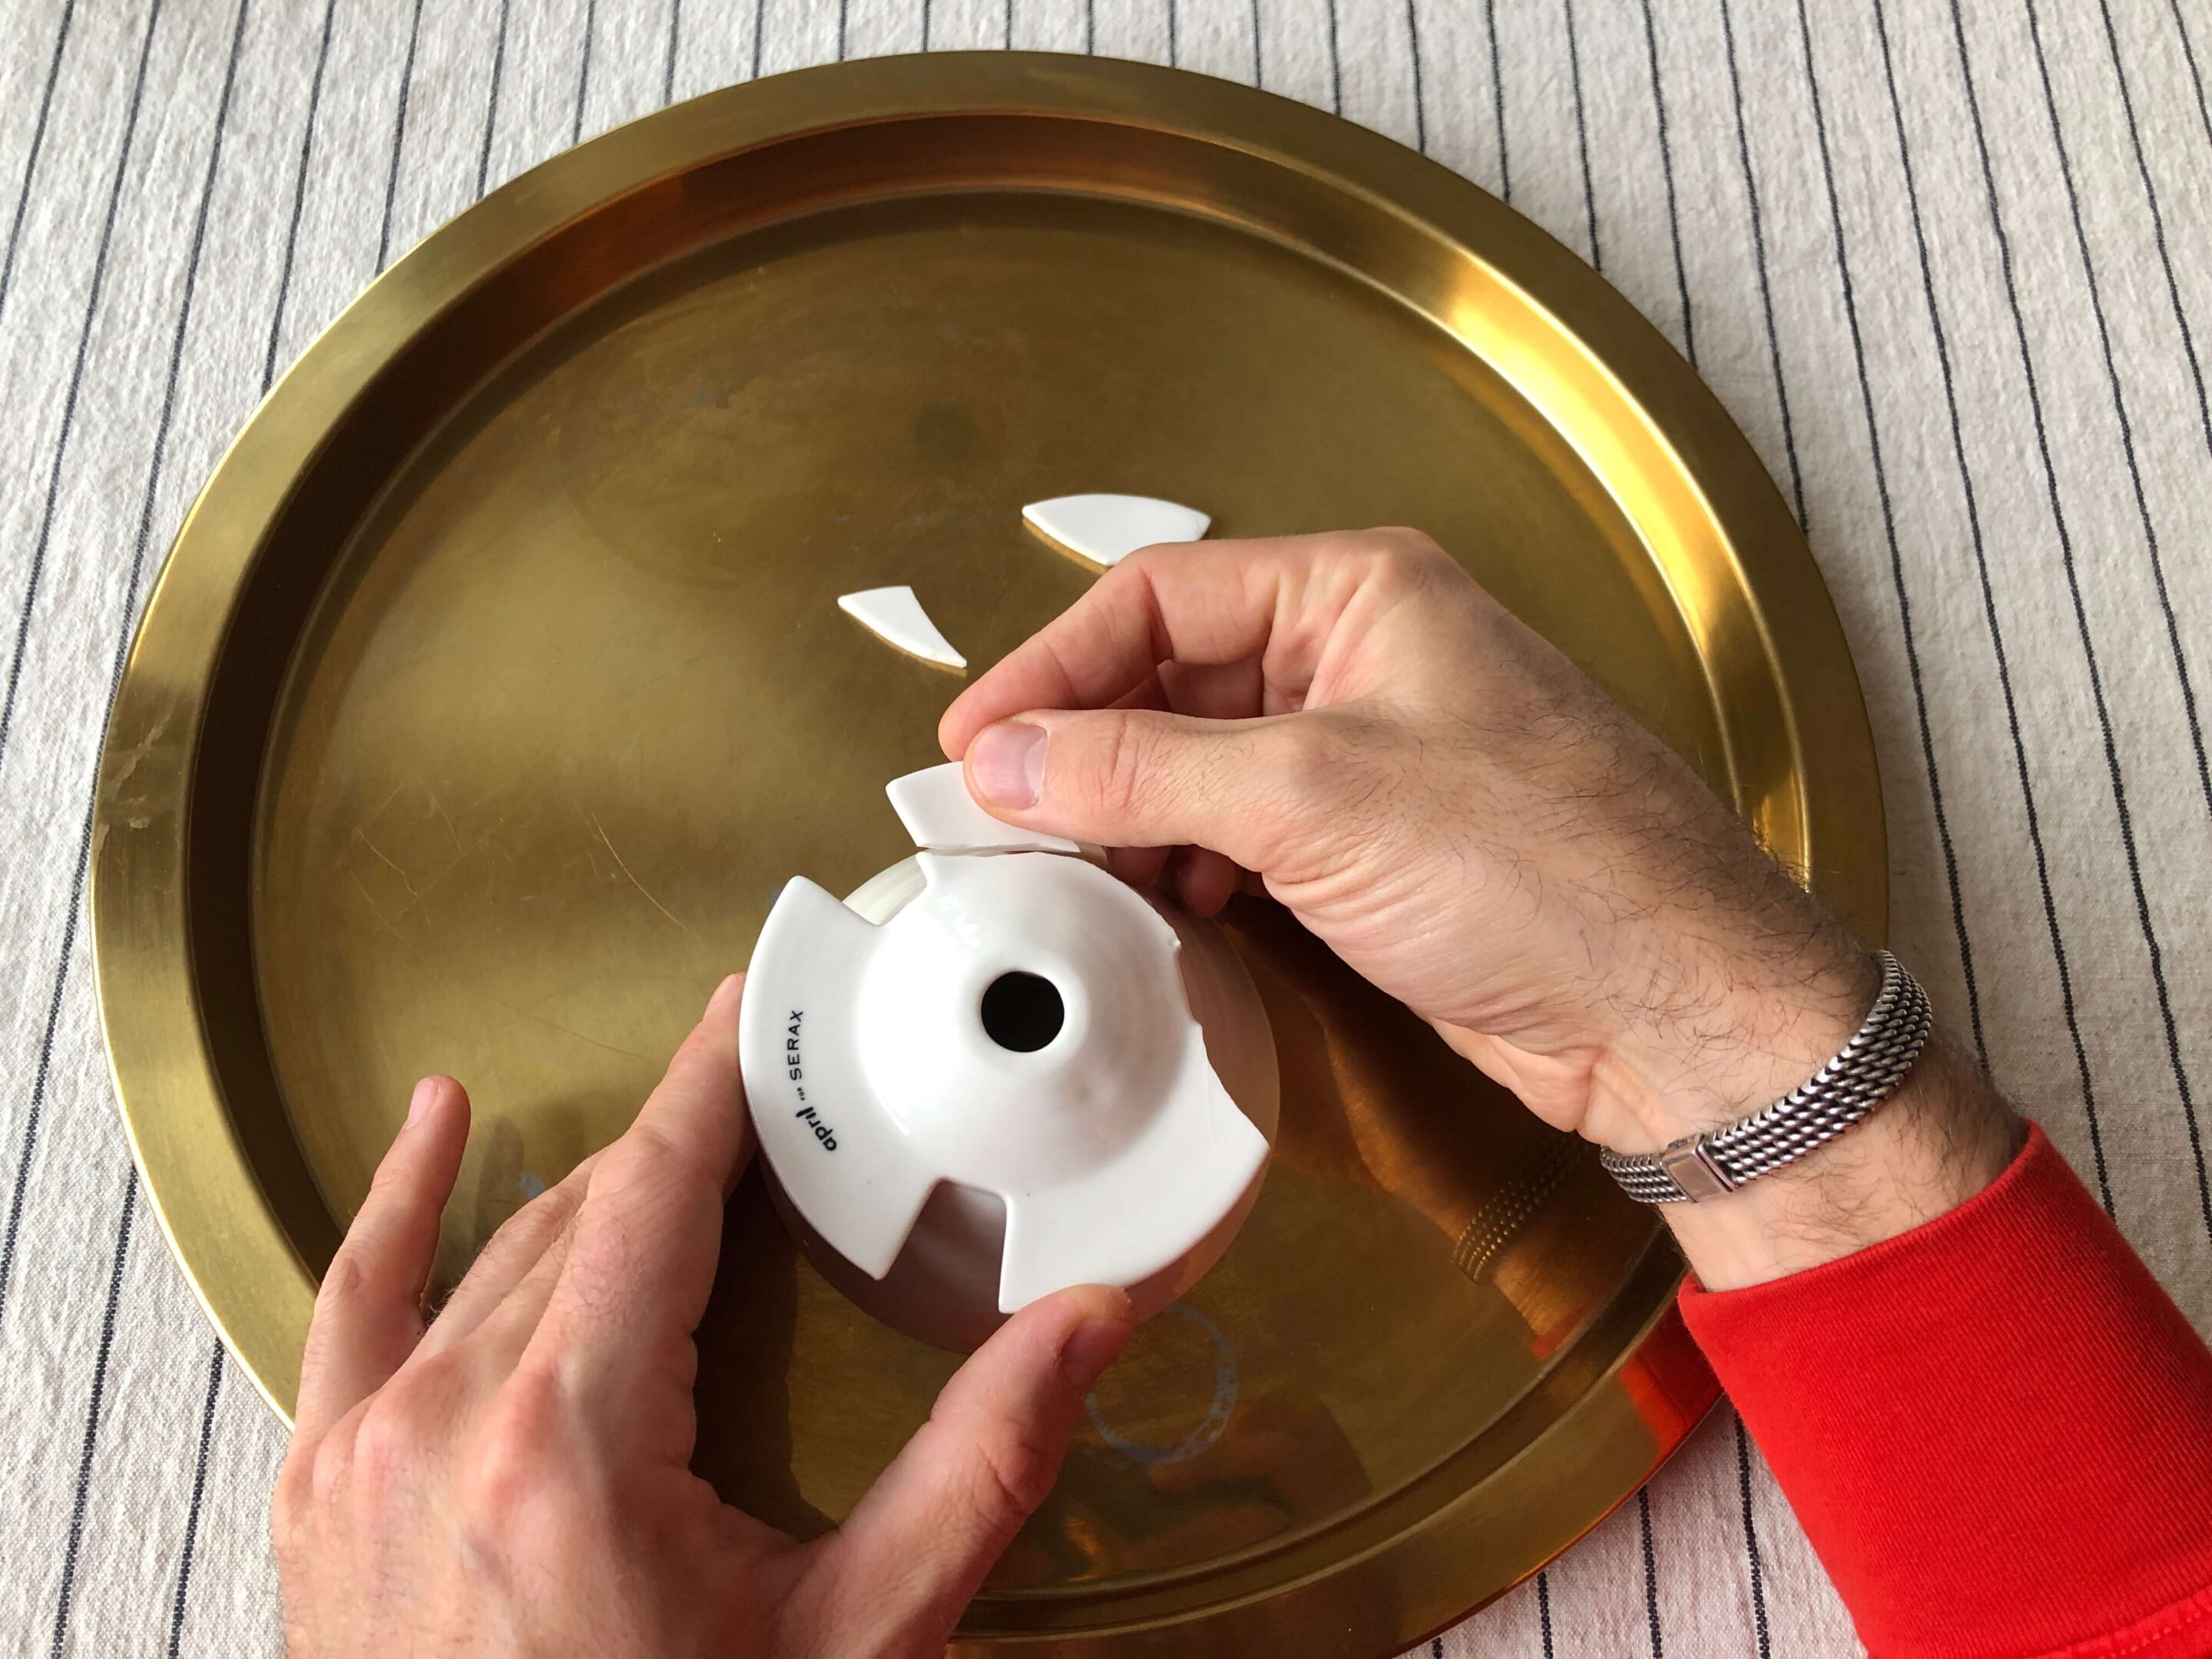
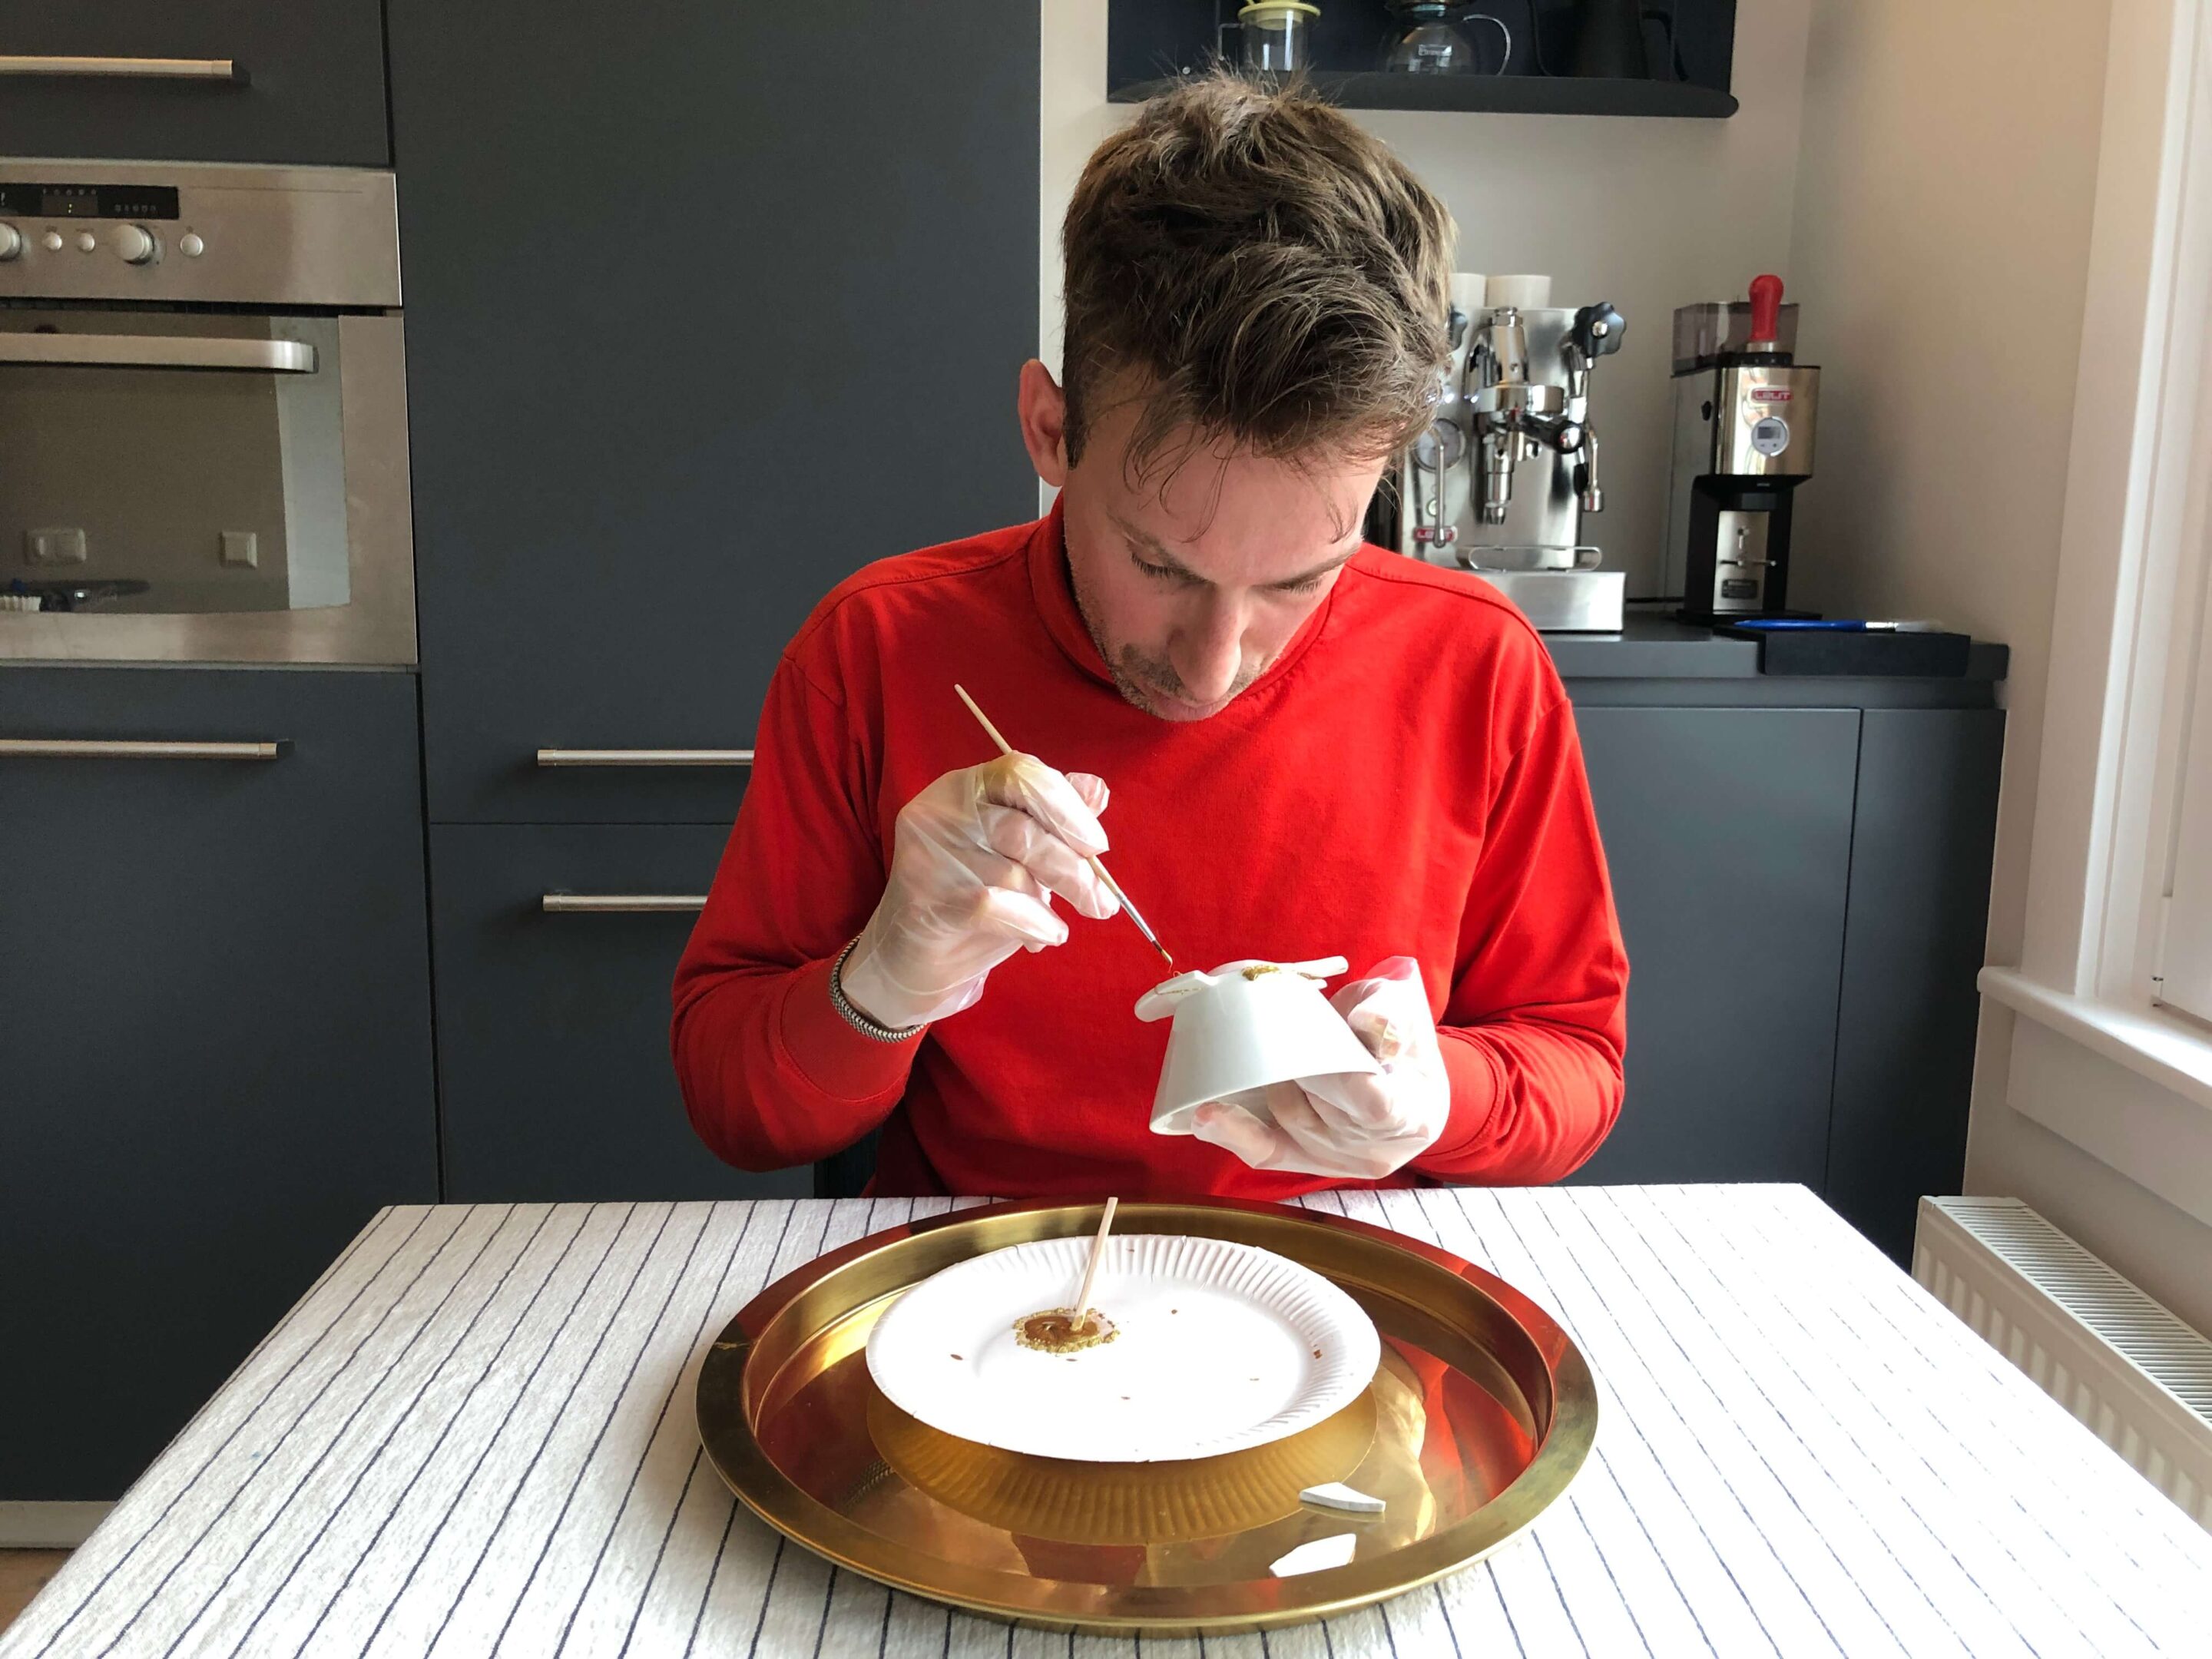
Yet, despite all the care and precaution, things that are fragile might eventually break. I learned this the hard way the other day when I accidentally broke by beautiful April Coffee Brewer and suddenly found myself wondering: do I a) continue using it despite missing a crucial bit of stability or b) put it away and hide my clumsiness or c) find a way to repair it?
In the end, I chose c) because there’s something that I’ve been facinated with for a long time: Kintsugi.
Kintsugi is the Japanese art form of mending broken crockery or porcelain with adhesive and gold or silver dust to create something new from something broken and effectively give something a second life.
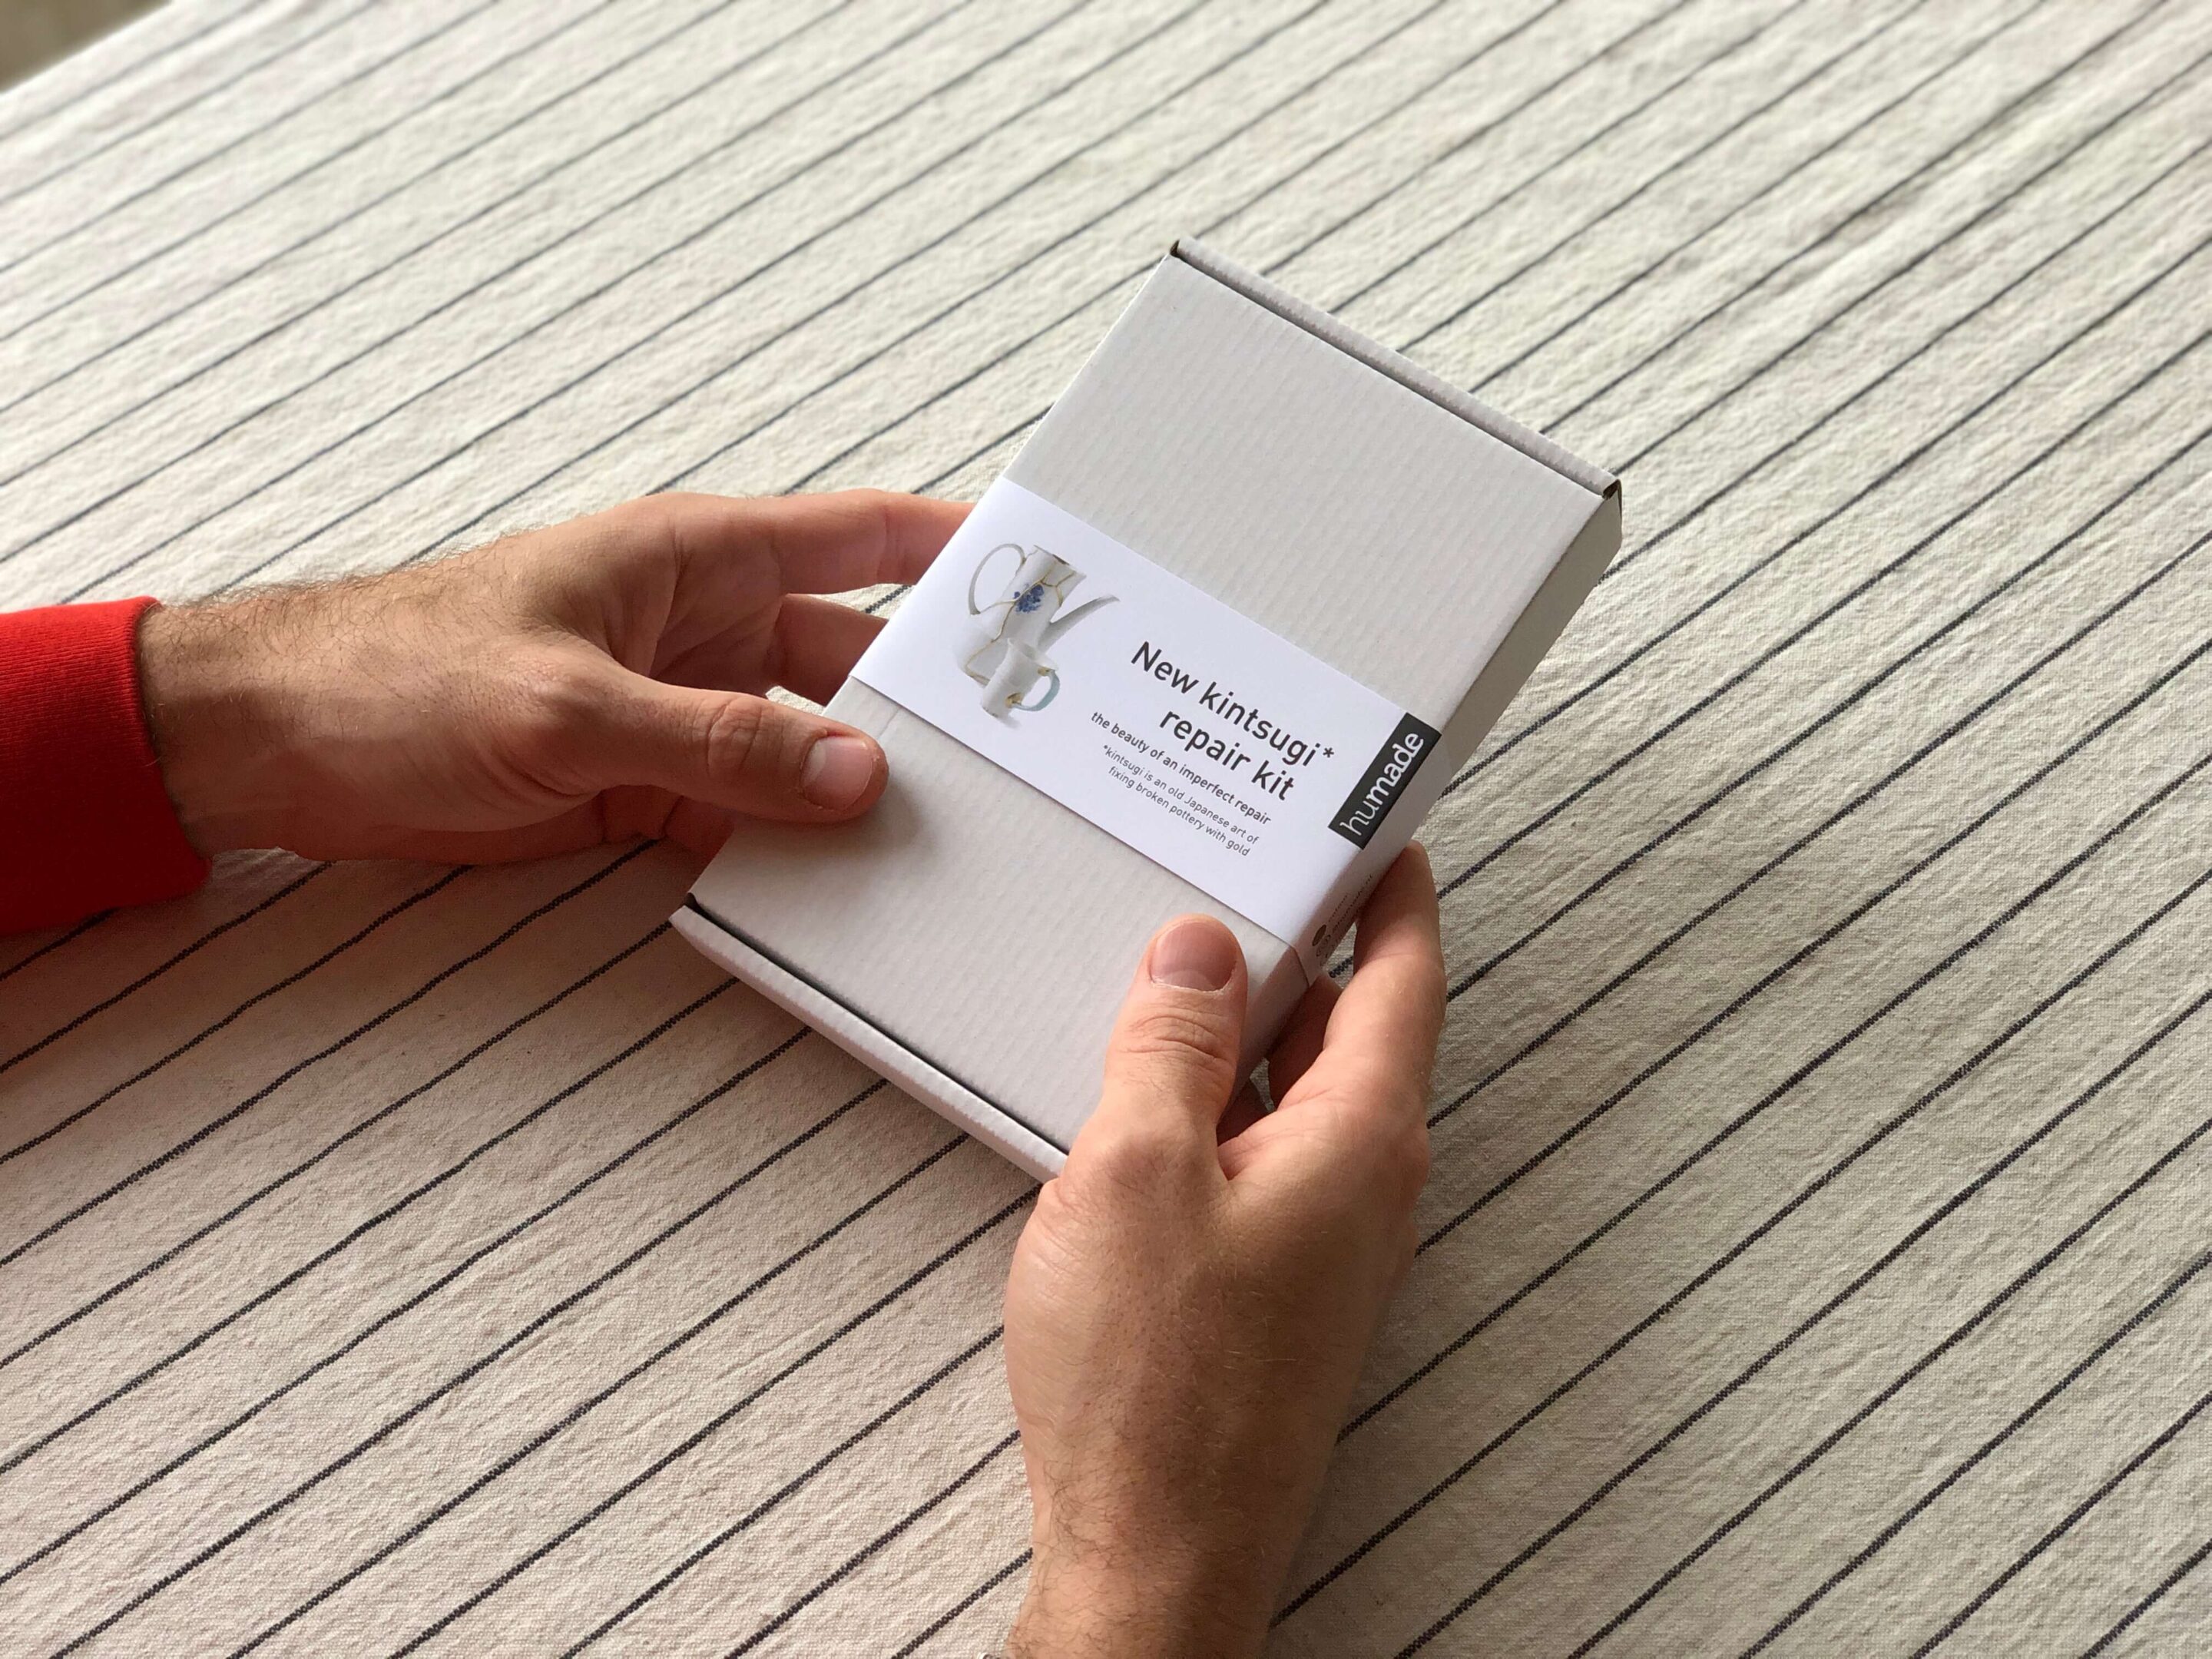
After a quick Google search, I came across a Dutch webshop that sells Kintsugi kits for €27 and I thought, bingo! Let’s give this a shot.
To show you how I did this, I created a fun YouTube tutorial that you can watch below.
In all honesty, I am quite happy with my first experience of applying Kintsugi to something that I value greatly.
And while the final results were a bit on the messy side, my April brewer is back together and I’ve been happily using it since.
Well, in all honesty, I thought it was a fun but also slightly fiddly experience.
The kit provides you with the following items:
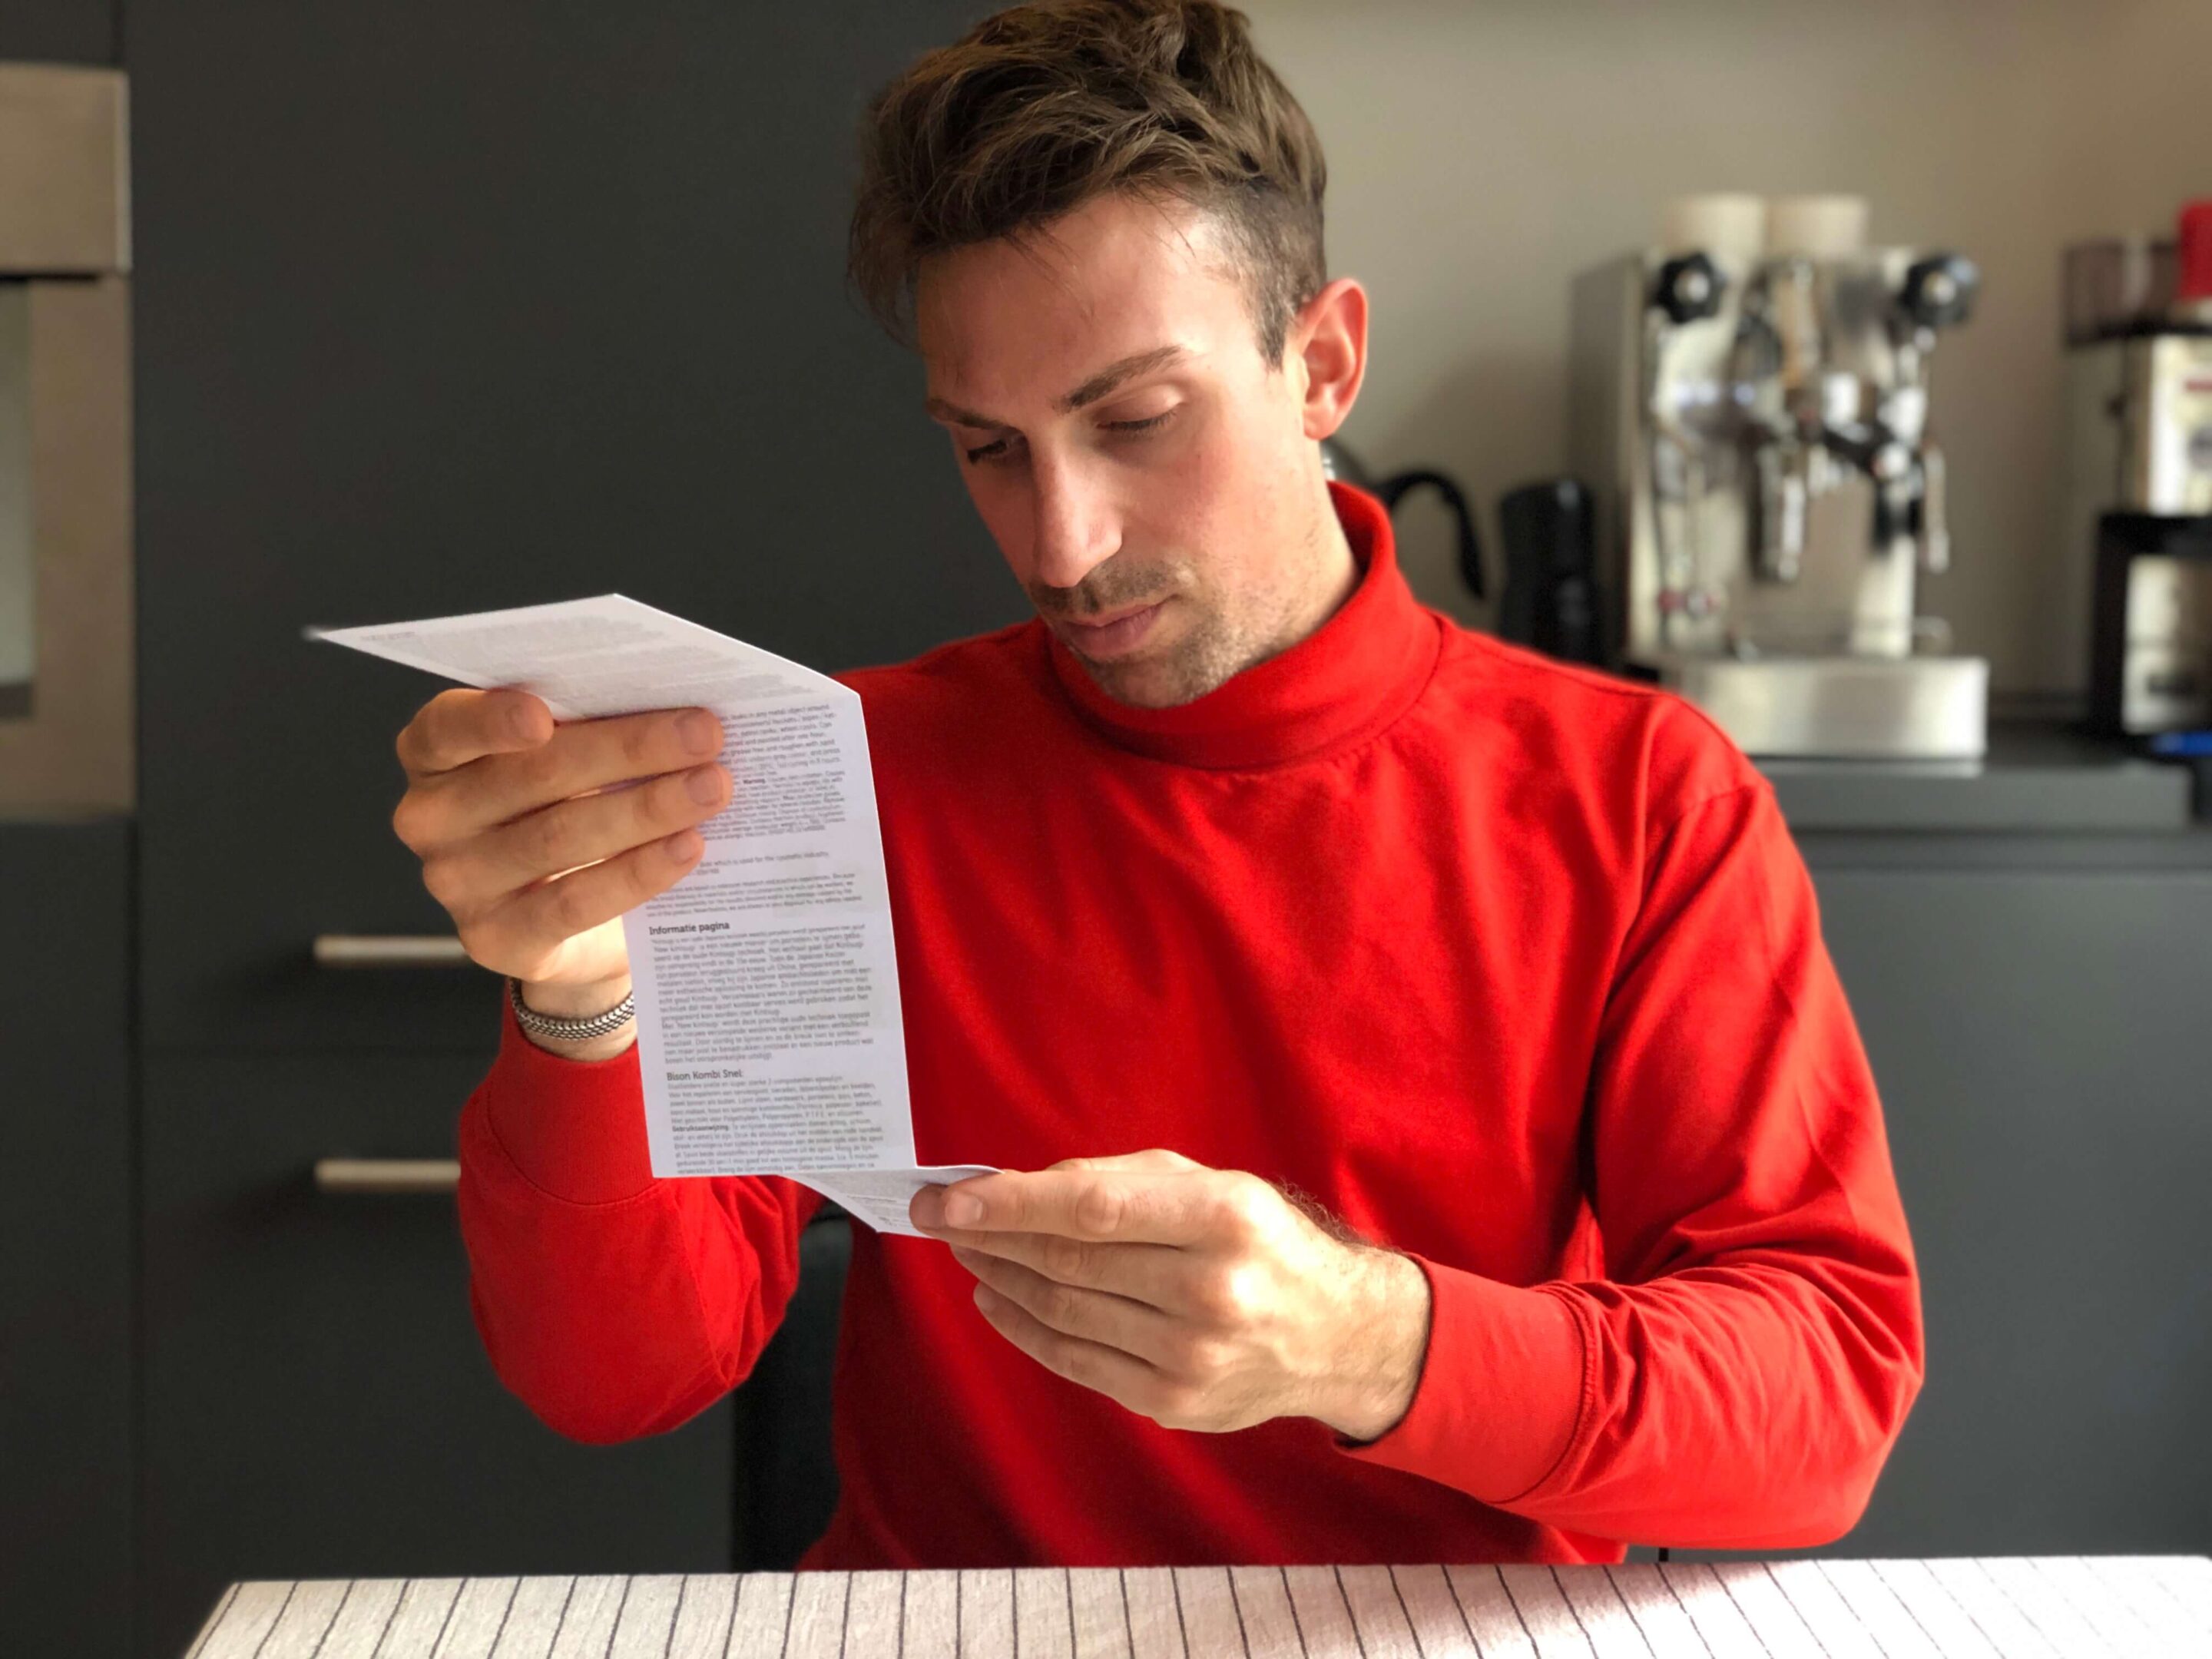
To get started you first need to figure out where everything goes as it will prevent you from messing things up as you go.
I then put the glue and my other utensils on a paper plate to avoid things getting stuck to good plates or other the table etc.
You then squeeze out some glue and add your gold dust. It’s important to mix it up nicely so you don’t get any clumps.
Take your brush and dip it in the glue before applying a generous layer to the area you want to repair. You are meant to have some glue squeezing out along the edges so you get that lovely effect but I would advise not to exaggerate this otherwise you’ll end up with a thick bump along the crack where the glue will dry.
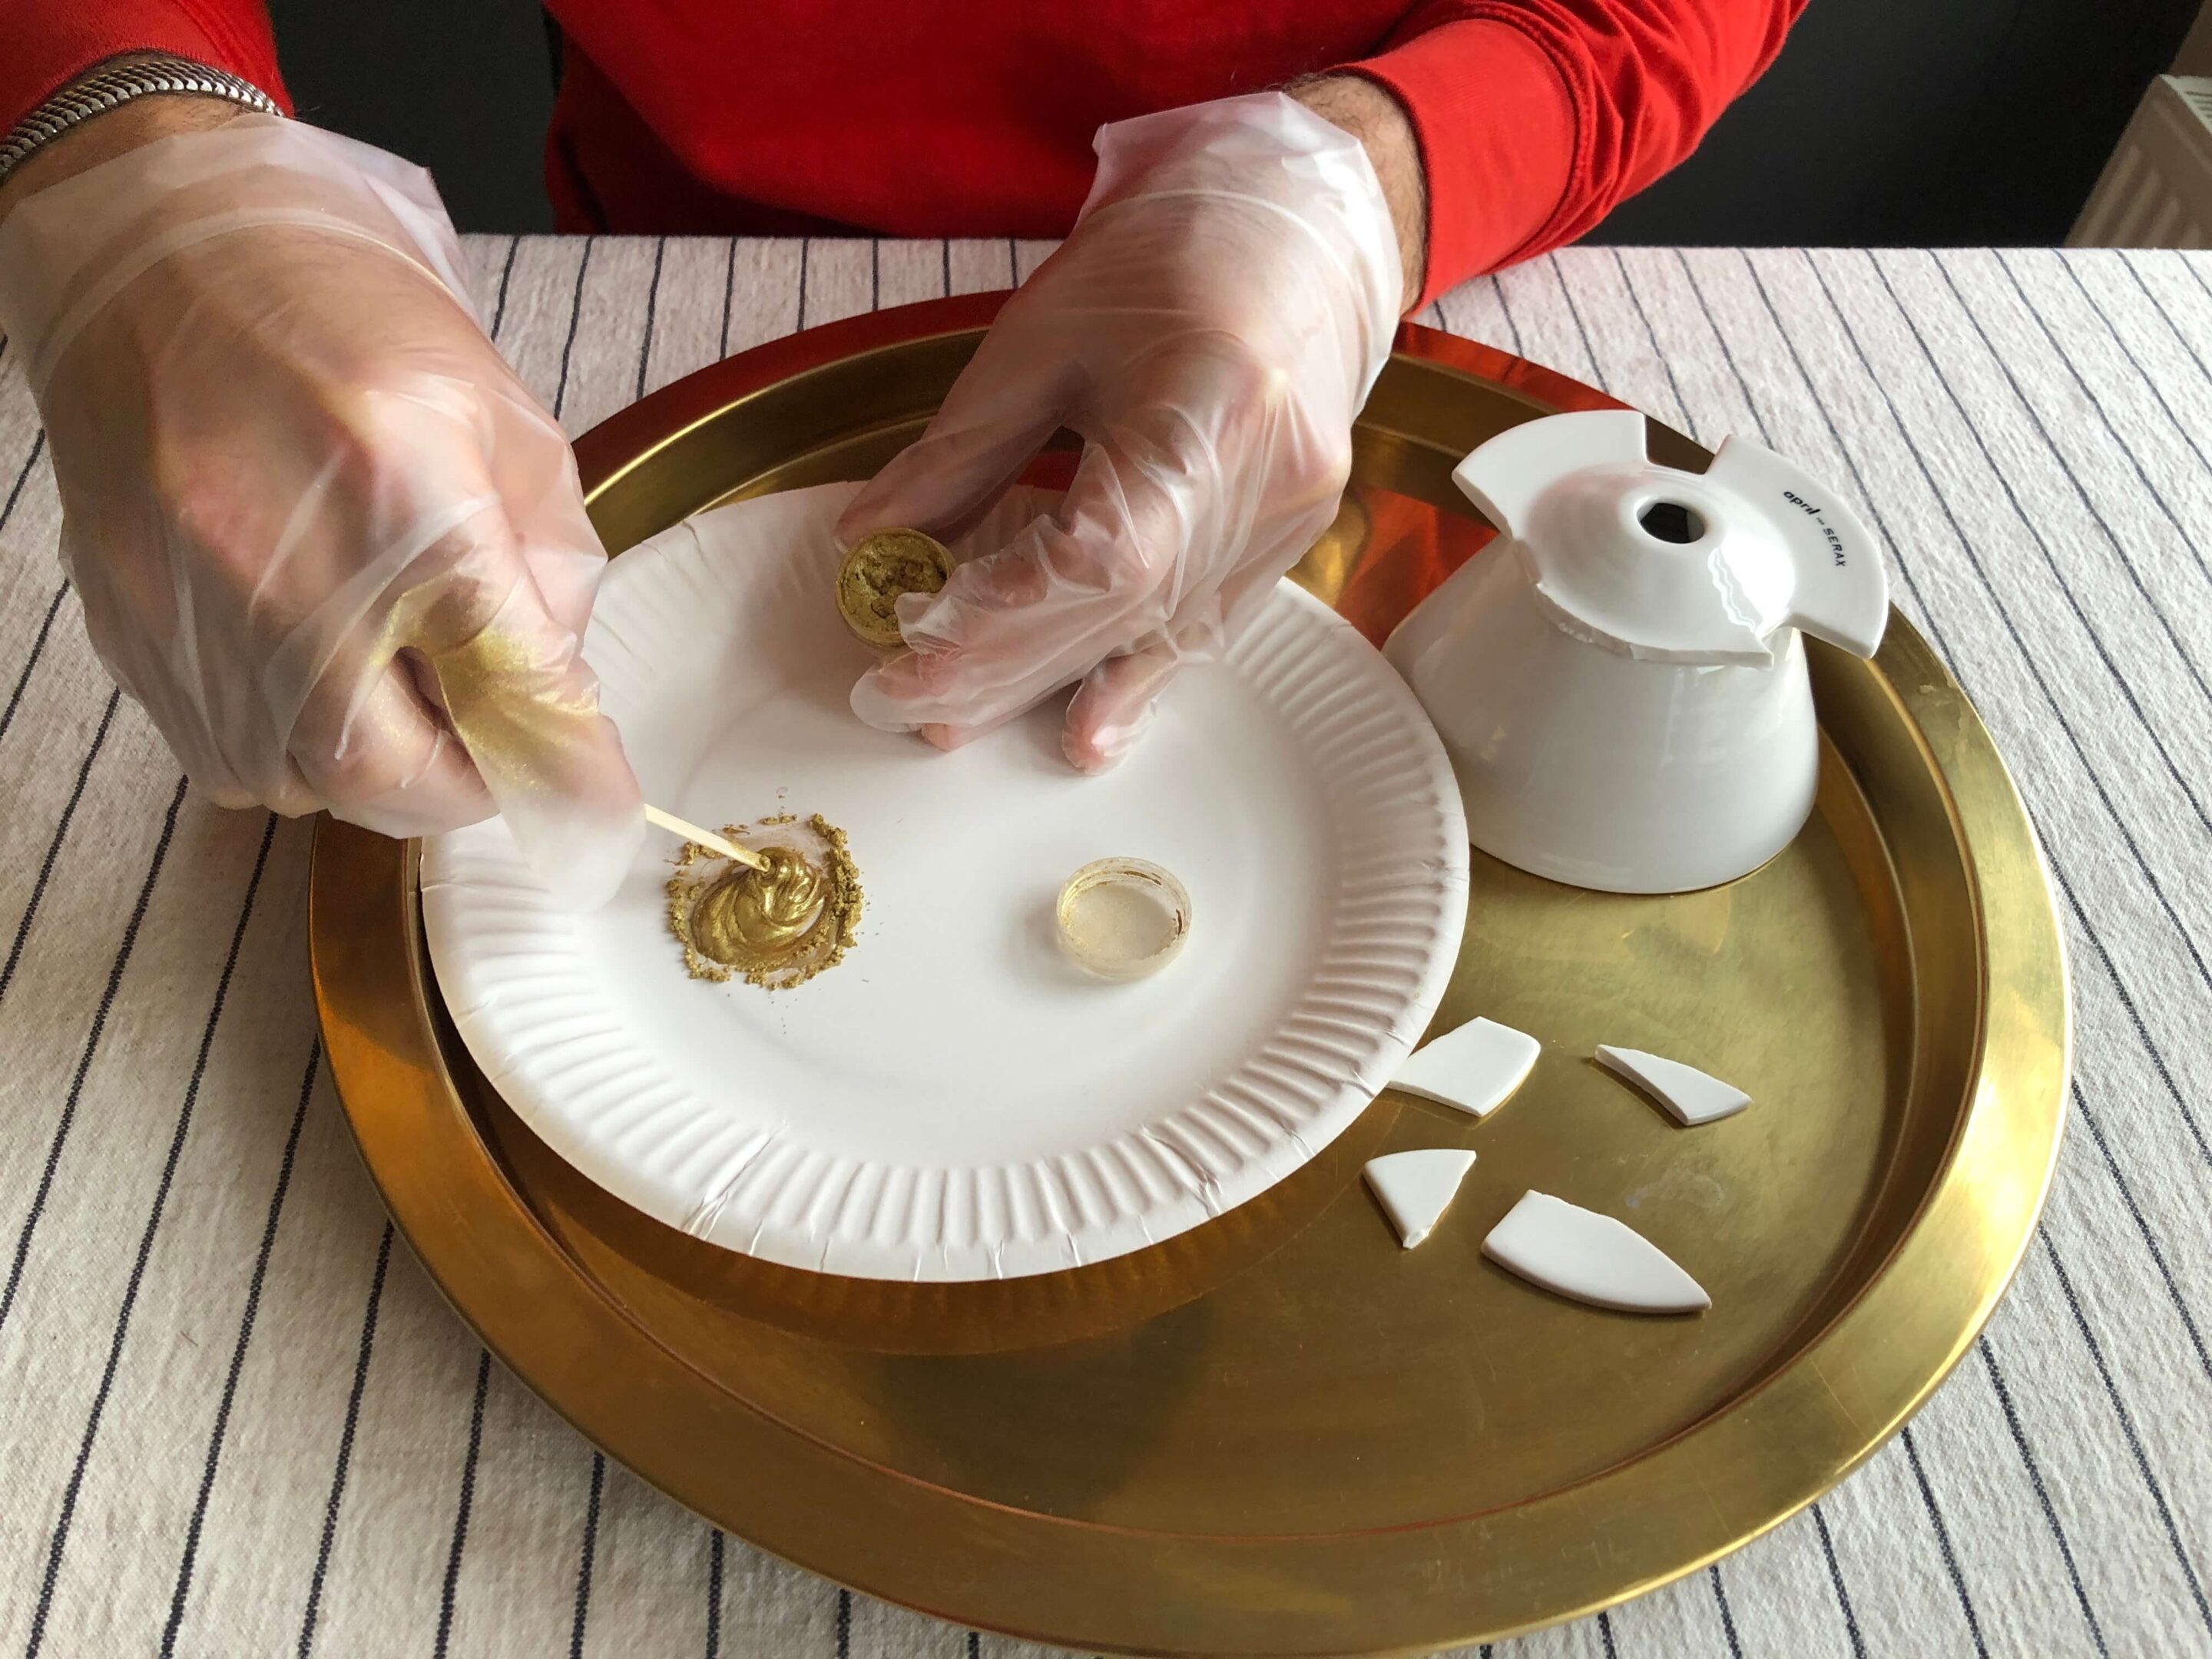
I also noticed that it is useful to only add glue to the immediate surface you want to work with instead of applying a layer of glue to the entire lengh of the crack. The reasson for this is that the glue dries super fast and you’ll end up having to add more later anyway so it saves you double work.
Once the piece is attached, keep it in place for 3-4 minutes before moving on to the next.
The glue dries very quickly so you’ll have to add more glue to your paper plate as you go because it really has to be very liquid still for you to work with it.
If you have any parts that are missing and require you to use the putty, make sure you do this before you apply the glue. I was already busy with fixing that piece and realised I need to use the putty so I had to snap it back off before getting back to that step.
I would also advise to keep the putty really small so that it only fills the exact part that is missing instead of sticking out at both ends.
Then, when you’re ready to continue, apply the glue and continue to put your item back together.
Because the glue is super strong and dries very fast, it’s important to make sure you only use small amounts as you go and that you are very careful not to have any strands getting stuck to other parts of your brewer or cup as this will be difficult to remove later.
Once you’re all done and dusted (ha ha), you need to set your item aside and wait for 48hours for the glue to set. I would also make sure that once it’s all done that you give it a really good rinse and clean up any stray bits of glue and glitter with some high percentage alcohol to be sure it’s all nice and clean.
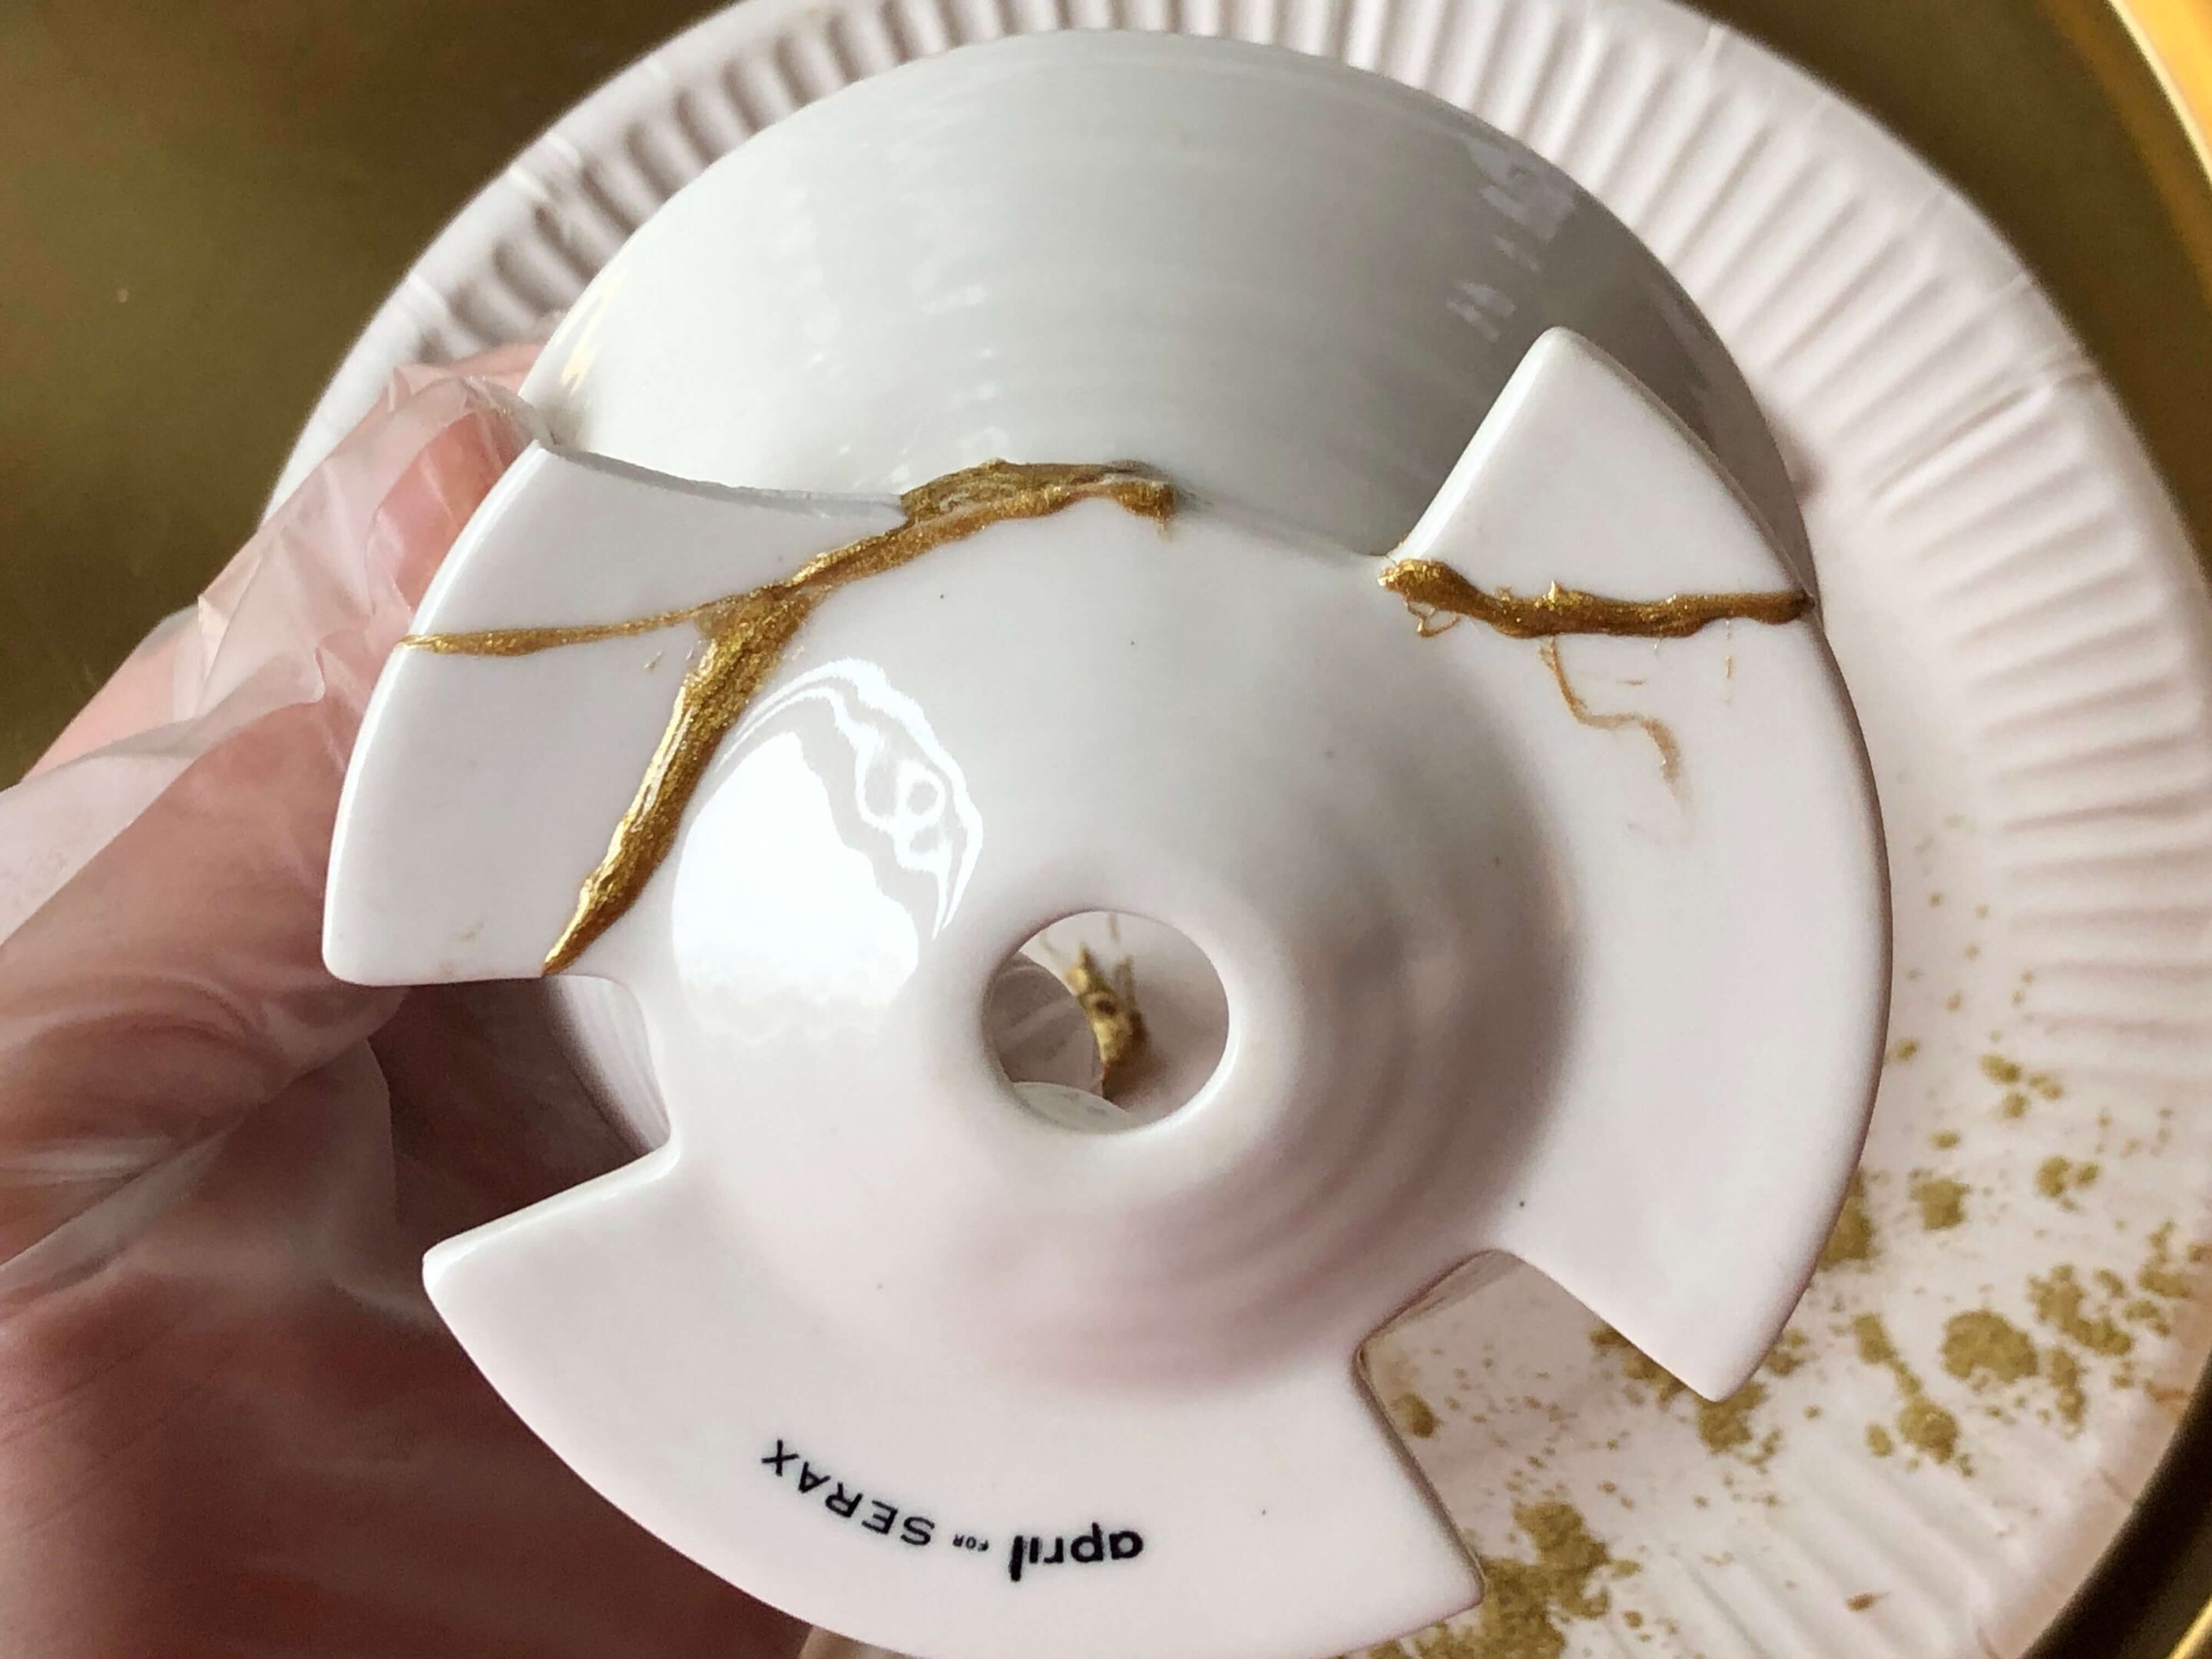
My brewer was not 100% straight after I put it back together but I am extremely happy that I could give it a new life and put it back to work.
If you would like to buy your own Kintsugi kit, you can get it from Humade directly.
I’d love to hear what you guys think of this tutorial and what your own experience with Kintsugi is. Feel free to leave a comment down below.
We’re thrilled to bring you a wildly ambitious Coffeevine edition in June 2026 filled with exciting coffees from 7 different roasters
Make the most of every bean with this custom brew guide from our May 2026 roasters. Learn about set up, water, grinding and brewing.
For this upcoming Coffeevine edition in May 2026, we’re going to team up with six super talented roasters from around the world.
To mark the exquisite April 2026 edition featuring two former World Barista Champions, we interviewed Jooyeon Jeon and Raúl Rodas just for you
Subscribe to our newsletter for new box announcements, articles and special offers. No spam. Promise!
© 2026 All rights reserved The Coffeevine.
